 This is part of the Blogging for Grasshoppers series
Since I’m not in Austin at SxSW,
and I have no interest whatsoever in Charlie Sheen other than wishing someone would put him in a box and throw him away,
and I’m sick and tired of the rain we’ve had in the DC Metro area the past couple of days,
I’m going to write about something completely unrelated to any of this stuff.
Completely random – but useful, I hope, particularly if you’re a new blogger.
If you’ve been doing this blogging thing for a while, you already know this stuff.
Image: Virginia Postrel via Flickr, CC 2.0
But here are a few things I’ve been asked about a few times when it comes to blogging – particularly in WordPress – and I’m going to jot ’em down for you.
1. Adding images.
You probably already know that you shouldn’t use images you don’t have a right to use; i.e. if you don’t own them, or they don’t have a Creative Commons license.
You probably already know that you can search for CC-licensed images on Flickr and other sites, and then download and insert the one(s) you want into your post.
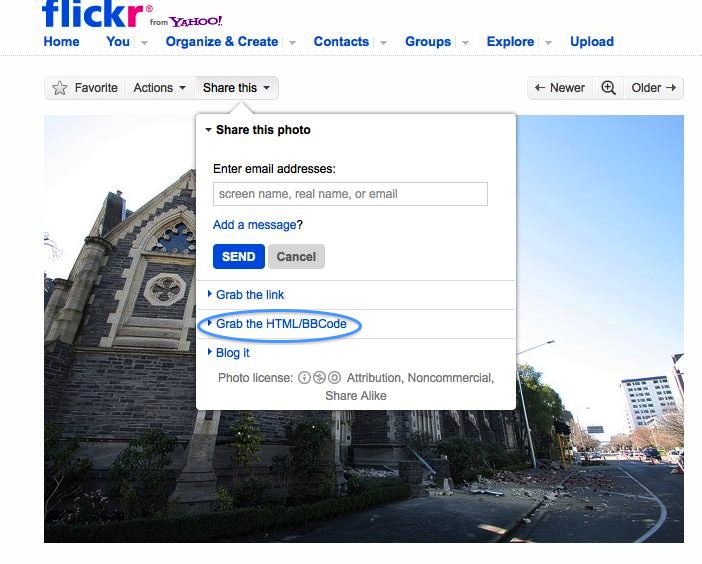
Another way to do this on Flickr is to open the “share this” menu and grab the HTML code (I’m pretty sure you’ll only be able to do this if it’s licensed for sharing).
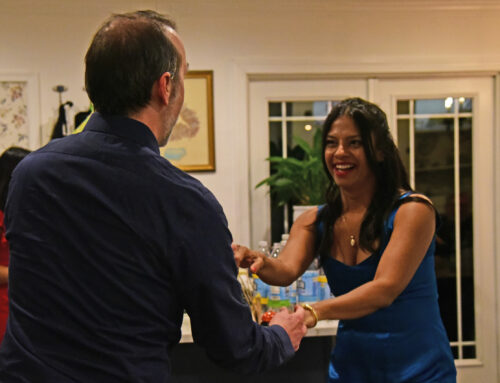
 Image: annzstream via Flickr, CC 2.0
Then, go back to your post, navigate to the HTML tab, and paste the code in where you want it.
Go back to the visual tab, and adjust the settings for the image; e.g. how you want it aligned, sizing, etc.
The upside to this is that it’s very easy, and it will automatically include the URL of the image (which I always like to have in addition to calling out the credit information, as you can see above).
The downside is that if the owner of the image removes it at some point, you’re stuck with a big gaping hole in your post.
2. Adding other forms of media to your posts.
This one is very easy. First, make sure you’ve saved the file you want in a location you can get to easily (podcast, PDF, whatever).
Then click on the “add media” option and upload the file.
What is important here is that you save that file with the words you are going to use when you embed it.
E.g. when I save a #measurePR chat transcript, I’ll type something like “transcript of the #measurePR chat with <NAME>.”
This ensures that I can identify it easily later on, and that it fits into the sentence it’s going to appear in.
When you go back to editing your post, put your cursor where you want this linked file to appear, and then click on the starburst kinda icon (if you mouse over it, it will say “add media).
It will bring up the same kind of box as when you insert an image.
Navigate to “media library,” select your file and then click on “show” and “insert into post.”
Voilà .
3. Centering a YouTube video.
I had to search high and low before I figured this one out, but it’s also super easy.
You already know how to embed a YouTube video, right?
(If you don’t: you find the video, grab the embed code and insert it where you want it in the HTML tab of your post).
Then, you type the following code:
<div style = “text-align:center;”>
before the beginning of the YouTube code, and make sure to remove the spaces either side of =
and </div> at the end of it.
That’s what I got for you today.
Helpful? Ho-hum? Let me know, please!


Thanks, this is very powerful stuff.magnetic resonan cemri
Hi ! I like this post,this is nice post.. Thanks for sharing
<a href=”http://offlineleadsniper.com/”>offline sales leads</a>
absolute work practice this contact to your friend told you. I am constantly followed. To take delivery of more information something like this topic the subsequent . thanks
<a href=”http://seoprofitdashboard.com”>Analyze Links</a>
I read and liked the post and have also bookmarked you. All the best for future endeavors.
<a href=”http://djmenione.com”>dj menione</a>
Informative information and excellent posts you have!<a href=”http://sideplaners.com”>side planers</a>
Hey, very informative and interesting. Looks like you put a lot of effort and research into it. Keep up the good work!!
<a href=”http://debiteful.com”>debiteful</a>
A very well-written post. I read and liked the post and have also bookmarked you. All the best for future endeavors.<a href=”http://wodonga-park.com”>wodonga-park</a>